Color Mandelbrot Set Renderer
By: Cratecode
Now that you know the basics of rendering Mandelbrot Sets, let's up the ante a little bit. Instead of printing it out to the console, we're going to create an image - and, better yet, we'll make it colorful!
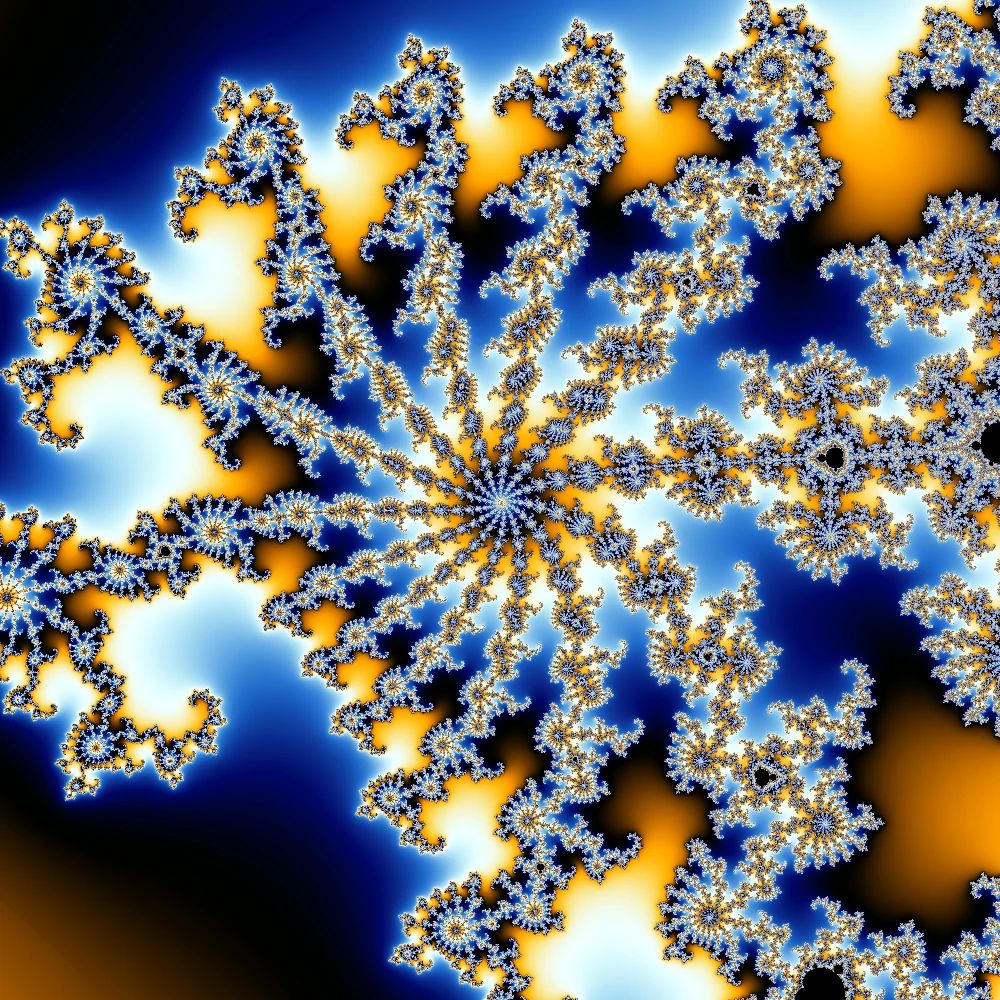
There are a few tricks used in the image above that we won't get to here, but they'll be described at the end in case you want to implement them (I highly recommend doing so!). By the end of this, you'll end up with an image that's about 90% of the way to being there.
Creating an image is very similar to outputting text to the console. You're dealing with exactly the same coordinate system (where things start at the top left), and the biggest difference is that you need to specify the position of pixels instead of just being able to print them out. That's not too bad either - if you have a loop running through every pixel (like the one in the last project for every character), your indices are the position of the current pixel.
Really, the biggest difference is that, instead of just printing in two colors
(asterisk / space), you need to output a ton of different ones. What people have
figured out is that you can assign different colors based on how long it takes
to escape (which is when it becomes larger than some limit, like 2). In
practical terms, this means that in your loop variable where you iterate the
function, you'll use the loop variable/index to assign your color.
There are a few ways to do this, but the easiest is to create a gradient and
sample colors from it. This will also set you up nicely if you decide to
implement smooth coloring (more on that in the end). Alternatively, you can
assign a different color to each number. If you take this approach, you'll
probably want to use the remainder operator (number % max), which will cause a
number to wrap around to zero before it reaches the number on the right-hand
side. The reason for this is that if you iterate your function 1000 times, you'd
otherwise need 1000 colors, because some points might escape at each iteration.
The gradient will create these colors for you, which is one of the reasons I'd
recommend using it.
Before you get started, there are a few dependencies I'd recommend you install.
First and foremost, you should use the num-complex library for handling
complex numbers
(see here for the docs)
(install with cargo add num-complex). If you implemented it in the last
project, you're welcome to use that as well, although these instructions will be
specifically geared towards num-complex. Here's a quick example of how to use
it:
// You can use Complex32 or Complex64.
// They correspond to f32 and f64.
// The main difference between the two is that
// f64 is more precise but slower.
// This syntax says to import Complex32 from the num_complex
// crate.
// We could also write `use num_complex::{Complex32, Complex64};`
// to import both Complex32 and Complex64, and you can even do
// `use num_complex::*;` to import everything
// under `num_complex`, but you might not always want to do
// that since it can cause naming conflicts.
use num_complex::Complex32;
fn main() {
// 1 + 1i
let a = Complex32::new(1.0, 1.0);
// 1i
let b = Complex32::new(0.0, 1.0);
// -1 + 1i
println!("{}", a * b);
}Next up is a library for handling images, conveniently called image
(see here for the docs -
there's even an example of making a Mandelbrot Set!) (install with
cargo add image). We can use this to create an image and set the colors of
individual pixels on it. There are also some lower level libraries such as
png, which can be helpful if you want to generate massive images that are too
large to fit into memory. Here's an example of creating an image:
// Use RgbImage to create the image
// and Rgb to define the colors.
// You can also use other pixel formats,
// as well as ImageBuffer
use image::{RgbImage, Rgb};

const WIDTH: u32 = 1000;
const HEIGHT: u32 = 1000;

fn main() {
    // Create a new image in memory.
    let mut img = RgbImage::new(WIDTH, HEIGHT);

    // Loop through every pixel.
    for y in 0..HEIGHT {
        for x in 0..WIDTH {
            // Set the pixel to white (255 = 100% red, 255 = 100% blue, 255 = 100% green).
            img.put_pixel(x, y, Rgb([255, 255, 255]));
        }
    }

    // Save the image (handling an error if it occurs).
    if let Err(err) = img.save("image.png") {
        // The e here means that we're printing an error
        // instead of normal output.
        eprintln!("An error occurred while saving an image: {err}");
    }
}
Finally, the colorgrad library is great for creating and sampling from
gradients (see here for the docs)
(install with cargo add image). They have a great example on the front page of
the documentation for creating a gradient using your own colors. All you need to
do is give it a list of colors, and it'll let you sample at a certain positon
(between 0.0 and 1.0). Here's an example using it:
use colorgrad::{CustomGradient, Color};

fn main() {
    let grad = CustomGradient::new()
        .colors(&[
            // Blue (the last 255 means 100% opacity)
            Color::from_rgba8(9, 92, 140, 255),
            // Yellow
            Color::from_rgba8(220, 237, 68, 255),
            // Blue again
            Color::from_rgba8(9, 92, 140, 255),
        ])
        .build();
    // If it's not an error, take it out,
    // otherwise return.
    // This uses variable shadowing, so we
    // create a new variable with the same name.
    // When we access it by this name in the future, it'll
    // use this variable instead (although the old one still exists).
    let grad = match grad {
        Some(grad) => grad,
        Err(err) => {
            eprinlnt!("Failed to build a gradient: {err}");
            return;
        }
    };

    // Get the color in the middle (yellow).
    println!("{}", grad.at(0.5));
    // Get the color between blue and yellow.
    println!("{}", grad.at(0.25));
    // You can use this to repeat after you exceed 1.
    // This is the same thing as getting the color at 0.34.
    println!("{}", grad.repeating_at(12.34));
}
So, try using those libraries (or any others you come across - you can search them at crates.io) to create a Mandelbrot Set renderer. This one will be very similar to the one you did previously - you mainly need to figure out how to turn the number of iterations until escape into a color. You can see the hints below for some clues, but the gradient can do most of the work for you.
Good luck!
Hints
- If the point never escapes, make sure you color it black (rgb 0, 0, 0).
- ||A good way to structure your program is to have a function that takes in an x-y position and outputs a color.||
- ||You can turn your pixel positions into complex numbers just like how we did it in the last project.||
- ||A super easy way to turn iteration counts into colors is to divide them by some number (primes like 17 are great choices because they'll look more random) and then put that into repeating_at.||
- ||Don't put the iteration count directly into your gradient. If you do, your colors will all be the same.||
- ||Don't divide the iteration count by the maximum number of iterations. Make your max iterations larger to see why.||
Extra Features
There are a few things you can add to your Mandelbrot Set renderer to make it nicer. I won't go into detail about exactly how to implement them here, but I will describe them and give you links for resources that can help you out.
- Zoom and movement - Try adding a way to zoom in the image and move it around. Moving it shouldn't be to bad - all you need is some variables for the center point, and to offset your position by those variables. But zooming is a bit more tricky. One way to think about it is having a center point (x, y), and a zoom level L. Now, imagine your image is a rectangle centered on that point. Increasing L should make the rectangle smaller. One way to do that is to say that the rectangle has a width of width/L, and a height of height/L. From this, you can calculate your top-left position and how big each pixel should be. Using a center point also means that moving the image around is built-in!
- Fractional iteration counts - You might have noticed that your colors are
a bit flat, at least compared to the image above. That's because any regions
with the same escape time will have the exact same color! Luckily, there is a
way to make it a bit smoother.
Here's a link to a Wikipedia article about it.
Generally, the following works pretty well:
\mathrm{iterations} + 1 - \log_{2}\left( \log\left( z \right) \right). If you plug in your iteration count and the current value forz, you'll get a new, fractional iteration count out, which can be put into your gradient. - Super sampling - Another way to increase quality is by super sampling.
What this means is that we take a higher number of "samples" per-pixel, almost
like rendering a 10,000x10,000 image and compressing it to 1,000x1,000. This
ends up making our images look a nicer, especially around edges, because it
takes more of the scene into consideration. An easy way to do this is, for
each pixel, render out some smaller "subpixels" within the bounds of the pixel
(which are
\pm \frac{1}{2} \mathrm{width}horizontally and\pm \frac{1}{2} \mathrm{width}vertically). Then, you can average them together. Make sure to gamma correct, or else your images will look darker (raise everything to the power of2.2, average them, then raise the average to the power of1/2.2). - Image color scheme - Try to match the color scheme of the image at the
top. This image's color scheme is based on the one used
here,
and you can find the values for the gradient
here. Note that this includes
positions along the gradient for each color. In
colorgrad, you can use thedomainfunction (docs) to put these numbers in. And if you really want to match it, useCatmullRominterpolation and, using fractional iterations, put your fractional iteration count into a natural log before using it.
Hey there! Enjoyed the lesson? Consider sharing it with others - it's a huge help and lets us keep making them!